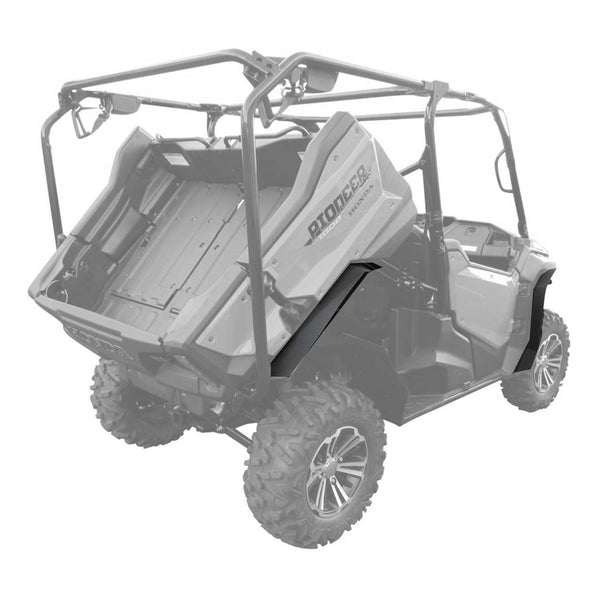
P1000 Mud Buster Fender Flares

  • Thread starter Blacklabsmatter
  • Start date
Blacklabsmatter

Blacklabsmatter

Member
Feb 23, 2021
12
32
13
Louisiana
Ownership

  1. Do not currently own
How hard is it to install mud buster fender flares? Does it require additional bolt holes/drill holes or does it just “pop” in using the push rivets.

Also where can I order a set for a 2018 model PK1000-5? Thanks
 
Pilotadam

Pilotadam

Well-Known Member
Lifetime Member
Aug 14, 2019
326
735
93
Pell City, Alabama
Ownership

  1. 1000-5
They are not hard to install. Just takes time. I personally added a couple of bolts that were not in the instructions just to make the mount a little stronger.

I ordered them directly off the Mud Busters website.

Sent from my SM-G781V using Tapatalk
 
Blacklabsmatter

Blacklabsmatter

Member
Feb 23, 2021
12
32
13
Louisiana
Ownership

  1. Do not currently own
They are not hard to install. Just takes time. I personally added a couple of bolts that were not in the instructions just to make the mount a little stronger.

I ordered them directly off the Mud Busters website.

Sent from my SM-G781V using Tapatalk
When you say you added bolts, does this mean they snap in place?
 
P1K5Dave

P1K5Dave

Well-Known Member
Lifetime Member
Club Contributor
Jul 11, 2020
2,244
8,419
113
Petoskey, MI
Ownership

  1. 1000-5
There's some drilling. A few hours to put them in.

You can download their instructions first

 
bumperm

bumperm

Well-Known Member
May 7, 2021
1,899
6,777
113
Gardnerville, NV
Ownership

  1. 1000-5
Couple of hints when installing the Mud Busters. First off, you need to get the thing to a convenient height if you're an old guy like me. None of this crawling around business.

20220428 223430


All went fairly straight forward, but I didn't want to use the self drilling screws to attach the rearmost part of the mud flap. There's a drain hole on the bottom of each square tube near the rear. I enlarged each of those drain holes to accept a rivet nut, size M6 - 1.0. Forward of that hole, about 2.80" (I was using a caliper) I center punched for a second rivet nut each side. I then drilled a new drain hole at the bottom of the rear black plastic tubing plug (visible in pic). Also in the pic are two temporary pointed screws I made to perfectly align the mud flap holes. I.e. install a couple of the front mounting bolts so mud flap position is established. Insert screw points as shown. Then tap the mud flap upward into points to mark spot for drill holes. Remove flap and drill - perfect alignment. (Note: to make points, I used portions of the M6 - 1.0 "ball end" screws used for the push button release door storage mod - though any M6 - 1.0 threaded rod would work. To make the point, wrap a bit of tape around the threads at one end to protect the threads. Gently chuck the taped end in a portable drill chuck. Turn the end against a grinder wheel, making sure abrasive waste doesn't enter the drill chuck. Protecting threads is necessary as the threads must screw in, then back out, using finger pressure only.

20220428 212554
 

About us

  • Our community has been around for many years and pride ourselves on offering unbiased, critical discussion among people of all different backgrounds. We are working every day to make sure our community is one of the best.

User Menu

Buy us a beer!

  • Lots of time and money has gone into making sure the community is running the best software, best designs, and all the other bells and whistles. Care to buy us a beer? We'd really appreciate it!

    Beer Fund!

    Club Membership!